Scrollbar 스크롤바 디자인
스크롤바 스타일에 관한 웹표준은 존재하지 않습니다.
스크롤의 동작은 overflow와 같은 css 속성을 사용하여 간단히 제어할 수 있지만, 스타일의 경우에는 과거엔 불가능했습니다. 스크롤이 다른 HTML 요소들처럼 태그로 존재하지 않기 때문입니다. 당연히 W3C(World Wide Web Consortium) spec에서도 스크롤바 스타일에 관한 명확한 규정은 찾아볼 수 없습니다. 그러나 각 브라우저에서 스크롤과 관련된 가상요소를 만들어내면서 이제는 간단한 css만으로도 스크롤바 스타일이 가능하게 되었습니다.
이 글에서는 webkit 브라우저(크롬, 사파리, 오페라 등)에서 유효한 css 가상요소를 사용해서 스크롤바를 디자인하는 방법에 대해서 살펴보겠습니다.
스크롤바의 '생성'과 관련된 overflow 속성은 아래 글을 참고해 주세요.
2019.08.18 - [HTML, CSS] 내용이 요소(div 등)를 벗어날 때 스크롤 적용하는 방법 - overflow
[HTML, CSS] 내용이 요소(div 등)를 벗어날 때 스크롤 적용하는 방법 - overflow
CSS overflow HTML에서 요소 안의 내용이 요소를 벗어났을 때 스크롤을 생성하는 방법입니다. 다음과 같이 width와 height가 고정되지 않은 div 안에 텍스트가 있습니다. Lorem ipsum dolor sit amet consectetur, adip
codingbroker.tistory.com
스크롤바 디자인 구현
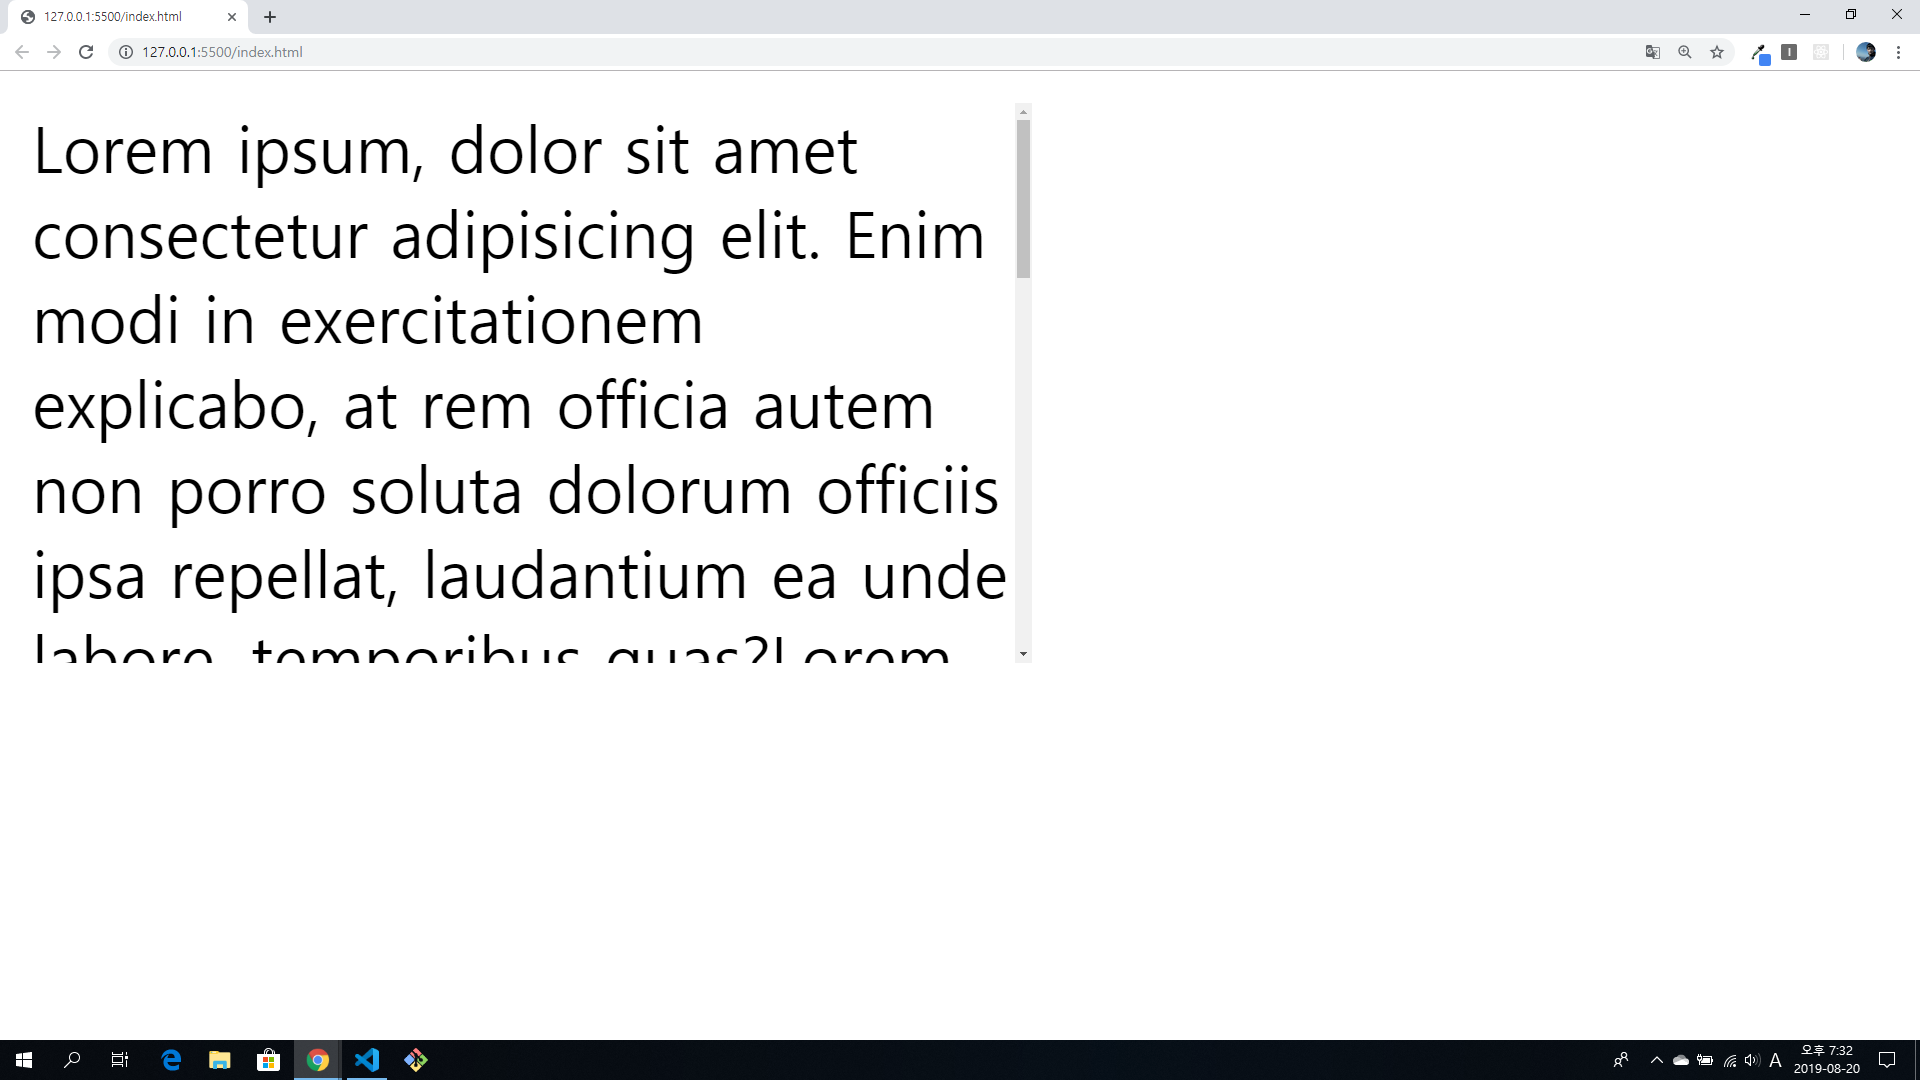
1. 다음과 같이 스크롤바가 생성된 div가 있습니다.
<!DOCTYPE html>
<html>
  <head>
    <style>
      .container {
        width: 250px;
        height: 140px;
        overflow: auto;
      }
    </style>
  </head>
  <body>
    <div class="container">
      Lorem ipsum, dolor sit amet consectetur adipisicing elit. Enim modi in
      exercitationem explicabo, at rem officia autem non porro soluta dolorum
      officiis ipsa repellat, laudantium ea unde labore, temporibus quas?Lorem
      ipsum dolor sit amet, consectetur adipisicing elit. Eveniet eius totam
      quam pariatur ratione, in voluptatem dignissimos laboriosam sint aut!
      Repudiandae consectetur odit quo corrupti quidem perferendis aut dolores
      quis?Lorem ipsum dolor sit amet consectetur adipisicing elit. Placeat nam
      optio dolore recusandae fuga voluptatibus. Ea quam deserunt consectetur
      quo aut eligendi, molestiae incidunt molestias ullam? Repellendus ratione
      repellat
    </div>
  </body>
</html>
스크롤을 다루기 위해서는 관련된 가상 요소에 스타일을 적용하면 됩니다.
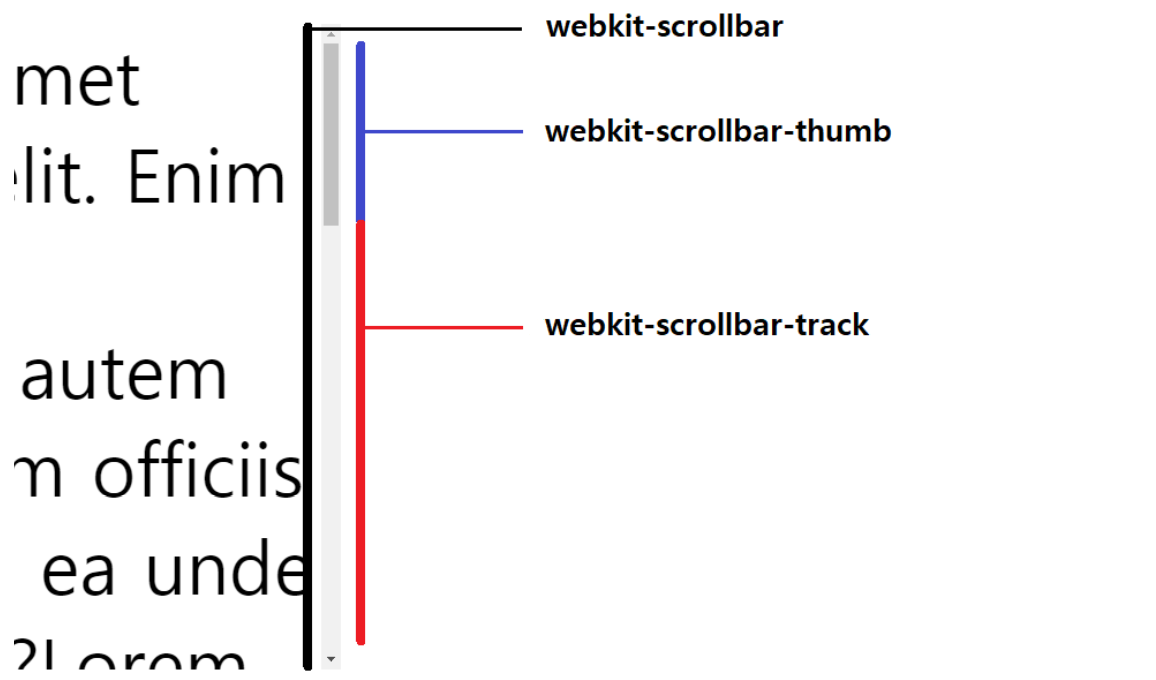
여러 가지 가상요소가 있지만, 주로 아래 3가지 요소만 스타일을 적용해 주면 충분합니다. (chrome 기준)
| ::-webkit-scrollbar | 스크롤바 전체 |
| ::-webkit-scrollbar-thumb | 스크롤 막대 |
| ::-webkit-scrollbar-track | 스크롤 막대 외부 |
각각 스크롤 영역 전체와, 막대(thumb), 여백(track)을 의미합니다.
그림으로 나타내면 아래와 같습니다.

2. container div의 ::-webkit-scrollbar에 넓이(width)를 설정해 보겠습니다.
(수평 방향 스크롤인 경우에는 height를 설정하면 됩니다.)
<style>
  .container {
    width: 250px;
    height: 140px;
    overflow: auto;
  }
  .container::-webkit-scrollbar {
    width: 10px;
    background-color: black;
  }
</style>
길이를 10px로 지정하고 눈으로 확인하기 위해 임시로 검은색을 주었습니다.
3. 검은색을 지운 뒤, thumb(막대)와 track(여백)에 각각 색상을 설정하겠습니다.
<style>
  .container {
    width: 250px;
    height: 140px;
    overflow: auto;
  }
  .container::-webkit-scrollbar {
    width: 10px;
  }
  .container::-webkit-scrollbar-thumb {
    background-color: #2f3542;
  }
  .container::-webkit-scrollbar-track {
    background-color: grey;
  }
</style>
thumb와 track에 색상이 설정되었습니다.
4. border-radius와 box-shadow를 활용해서 좀 더 예쁘게 만들어 보겠습니다.
<style>
  .container {
    width: 250px;
    height: 140px;
    overflow: auto;
  }
  .container::-webkit-scrollbar {
    width: 10px;
  }
  .container::-webkit-scrollbar-thumb {
    background-color: #2f3542;
    border-radius: 10px;
  }
  .container::-webkit-scrollbar-track {
    background-color: grey;
    border-radius: 10px;
    box-shadow: inset 0px 0px 5px white;
  }
</style>
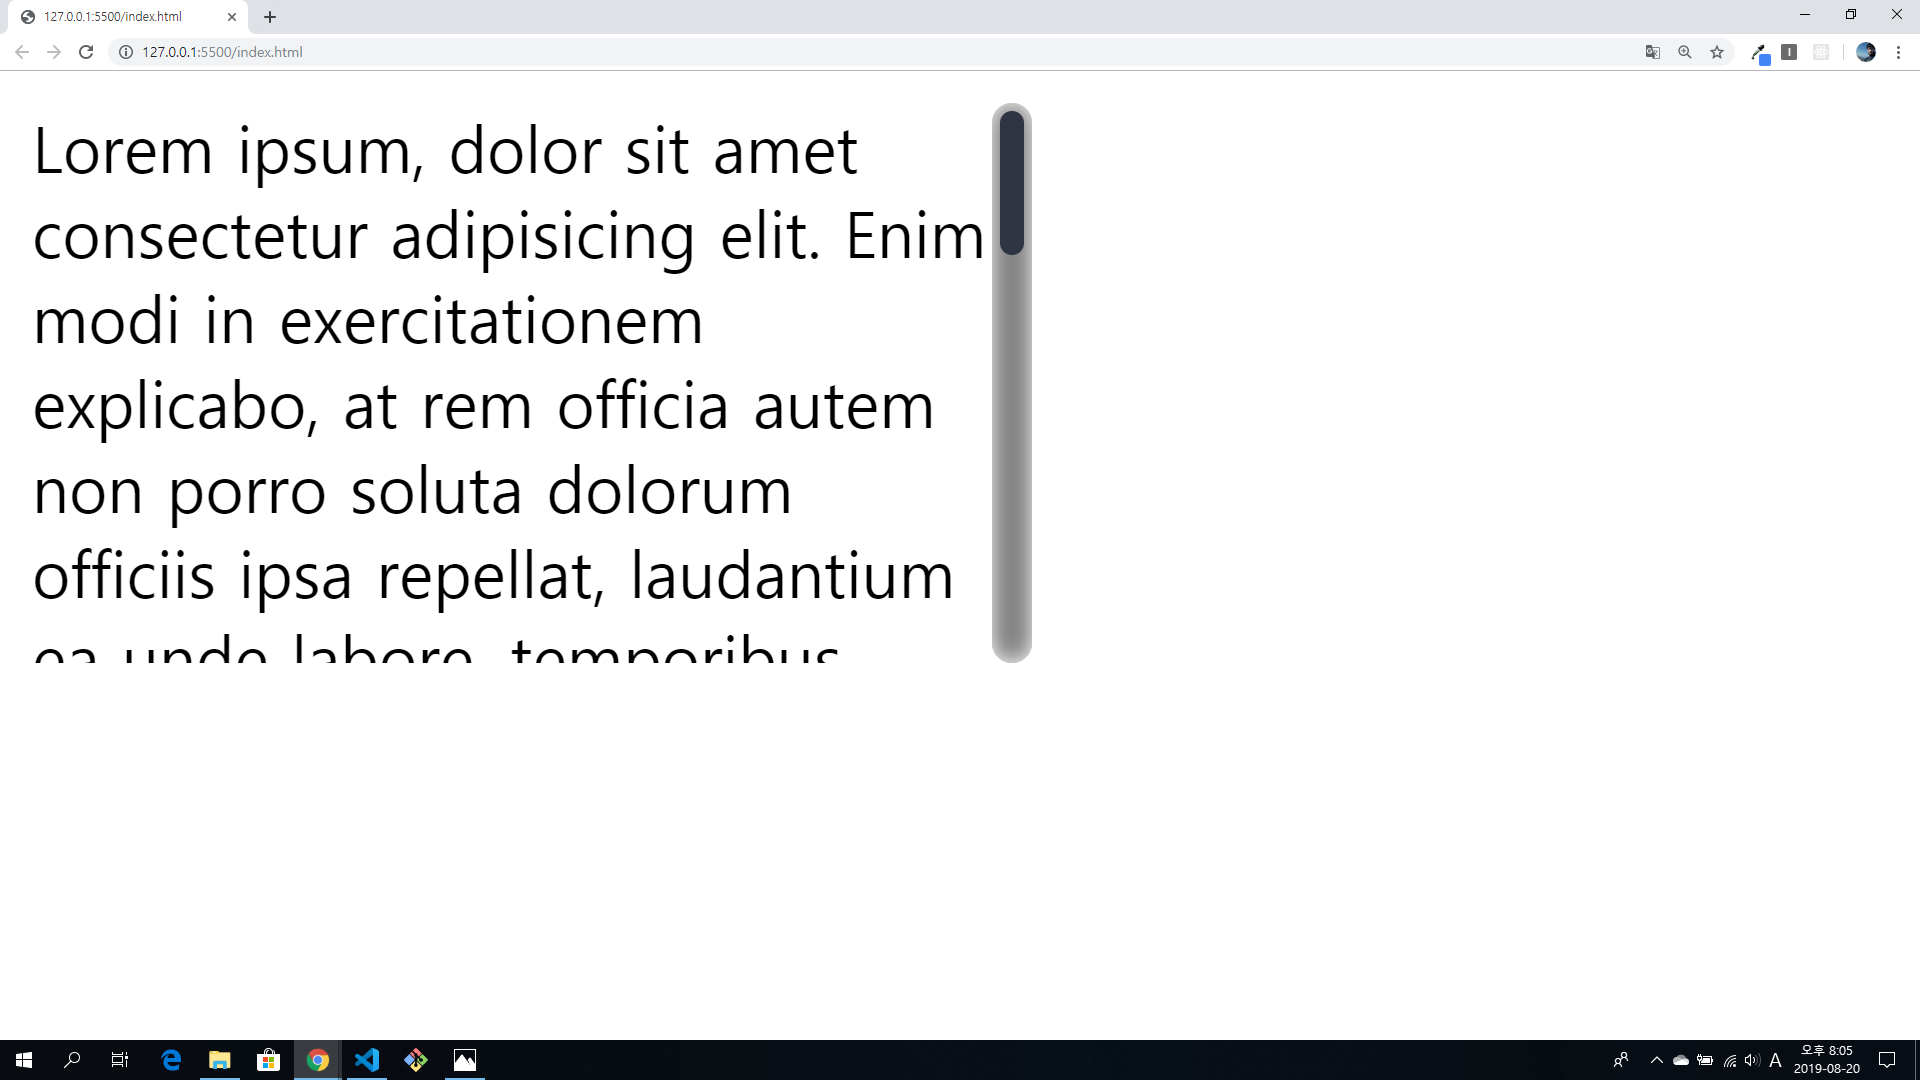
5. thumb와 track사이에 공간(padding)을 주고 싶을 때는 thumb의 background-clip을 padding-box로 설정하고, border 색상을 transparent(투명)으로 조절하면 됩니다.
(padding과 margin은 적용되지 않습니다.)
<style>
  .container {
    width: 250px;
    height: 140px;
    overflow: auto;
  }
  .container::-webkit-scrollbar {
    width: 10px;
  }
  .container::-webkit-scrollbar-thumb {
    background-color: #2f3542;
    border-radius: 10px;
    background-clip: padding-box;
    border: 2px solid transparent;
  }
  .container::-webkit-scrollbar-track {
    background-color: grey;
    border-radius: 10px;
    box-shadow: inset 0px 0px 5px white;
  }
</style>

'프론트엔드 HTML CSS JAVASCRIPT' 카테고리의 다른 글
| [HTML, CSS] input, textarea의 placeholder에 스타일 작업하는 방법(색상 등) (1) | 2019.08.23 |
|---|---|
| [HTML, CSS] 아이콘 추가하는 방법 - fontawesome 사용법 (1) | 2019.08.22 |
| [HTML, CSS] 내용이 요소(div 등)를 벗어날 때 스크롤 적용하는 방법 - overflow (3) | 2019.08.18 |
| [HTML, JAVASCRIPT, CSS] 마우스 오버 시 HTML 요소(이미지, div 등) 확대(zoomIn) 하는 방법. 옆에 요소 안밀려나게/밀려나게 (3) | 2019.08.18 |
| [HTML, JAVASCRIPT] fetch를 사용하여 데이터 요청 후 화면에 적용하는 방법 ajax (4) | 2019.08.17 |


